| AWicons [Icon Editor] |
 Introduction
 Tutorials
 Icons: general information
| All Products |
 Vista Artistic Icons
| - AWicons 10.0 - | - Copyright © 2000-2008 Lokas Software - |
Step 5: Adjusting The Icon ImageIn this step, we'll adjust the existing icon image. AWicons provides you with various professional and customizable tools for icon image adjustment. We will not draw images, but modify the appearance of icon images. This will be useful for you when a color spectrum correction is needed, or you want to change the positioning of image elements.Original image: 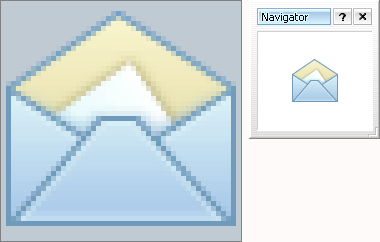
First of all, we will adjust the colors in our icon. Let's add some contrast to our image and make it brighter. A powerful Brightness - Intensity Ö Contrast tool is built into AWicons, and we'll use it for this purpose. B-I-C tool can be selected using the menu path Effects -> Brightness - Intensity Ö ContrastĹ as well as with the "F5" key. There are three items to adjust: Brightness, Intensity and Contrast. By reducing Brightness (down to -20) and increasing Intensity (up to +15) we get a bright, deep blue with more contrast. 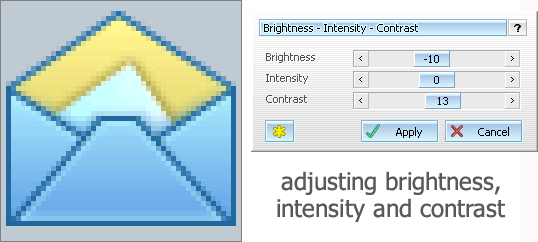
To meet the Windows XP requirements in icon creation, we must add some perspective to our icon image. This also is a professional feature in AWicons. AWicons built-in 3D rotate tool allows you to perform any complex image transformations including a customized perspective adding feature, and even a special preset (adds Windows XP style perspective to an icon). As always, this tool is available from the menu Effects ->3D rotate or it can be selected using the Effects button. We'll apply this effect to our icon image to add XP-styled perspective. There are many settings to customize, but we'll just use built-in XP Style presets (adds XP styled perspective). To add XP styled perspective to the image, click on the button XP Style and then press Apply (shown below). Note: the 3D Rotate effect is available in Pro version only. 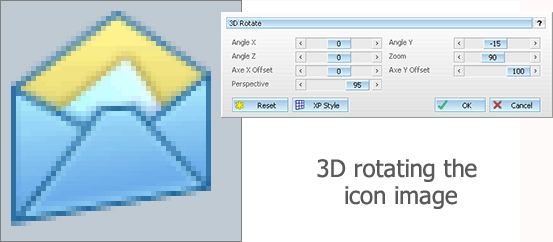
Having applied the effects, we'll need to place our image to the icon center. This may be performed simply by moving the image to the center. We use the Selection Tool to move icon images. Activate the Selection tool by clicking on the toolbar button (1) or use the "S" hot key. Then, the cursor inside the drawing area will be changed to a big cross, which allows you to select image elements. To place the icon image in the center, perform this sequence:
Tip: There is another way to select and move the icon image. Double-click on the button (1) selects the entire image area (If there's no selection) and then you are able to move it. If some area was selected before, double-clicking on the button (1) cancels the selection. 

|
| - e-mail: awicons@awicons.com - WWW: www.awicons.com - |