Now, let's create an icon using included icons and images. We've included a new
Lokas XP Artistic Icons collection
for this purpose. We'll assemble a new icon from several
icon images from this collection, and then add some effects and save the result as an icon.
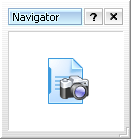
First, we'll create an icon for the document of photo album software. It will be a picture of the document with the camera lying on it.
First, we'll create an icon for the document of photo album software. It will be a picture of the document with the camera lying on it.
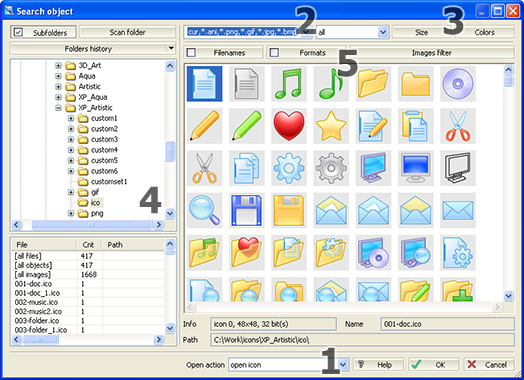
- Press "Ctrl+F3" hotkey to open the "Search object" window. Here you can easily
search for the icons or images that already exist on your disk. There are some
options to be adjusted.
Next, select "open only selected format" from Open action (1) combo box. This will allow you to choose the opening of the selected icon format only. We've selected 48x48 32-bit icon image ("document" image). Icons and images are easily accessible from the file tree (4). You can add subfolders to be scanned for icons, and scan them by checking on the "Subfolders" button, and then pressing the "Scan Folder" button. From the combo box (2) you can select files to be previewed: icons, images, icons & images etc. Accessible file types are listed to the left of it.
Furthermore, sizes and color modes of previewed icons and images are customizable also: you can define them using the buttons "Size" and "Colors" (3). With the help of the "Formats"and "Filenames" buttons you can add hints (filename and format) to the previewed images and icons. Image Filters allow you to preview only the needed formats and images.
- Press "Ctrl+F3" hotkey to open the "Search object" window and then select an icon containing the camera image (use 48x48 32bit image). (1)
- Select "add only selected format" inside the "Open action" combo box. To add an icon image click on the OK button.
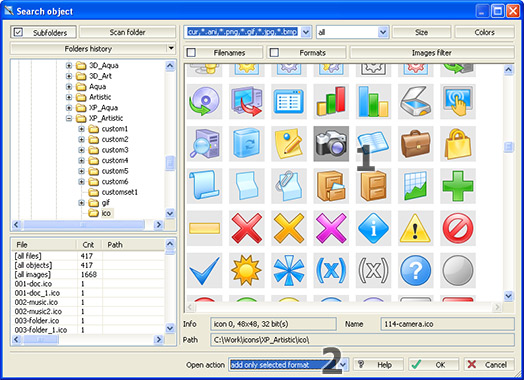
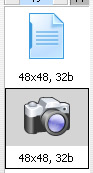
- Then you'll see two icons in the list: a camera image and a document image.
- Click on the camera image in the list to select it. Then use the Selection Tool ("S" hotkey) to edit this image: double clicking on the Selection tool button selects the entire image. Then reduce an image slightly: press the left
mouse button and then reduce the image by dragging to the upper-left
corner of the image.

- Next, copy the reduced image to the clipboard and paste it
into the "document" image.
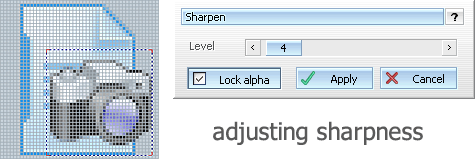
- To make the camera image clear, apply the "Sharpen" effect to it.
(Use sharpness level 4.)
- Having applied all of these effects, you need to create this new image in all sizes and color modes.
Simply select your image (48x48 32 bit), and apply "Create standard formats from selected" from the object menu. Don't forget to sort the icon images in the right sequence with the help of "Sort for Windows XP" feature (selected from the Object menu).
The results are shown below:
- Press F2 to save your icon as .ico file.